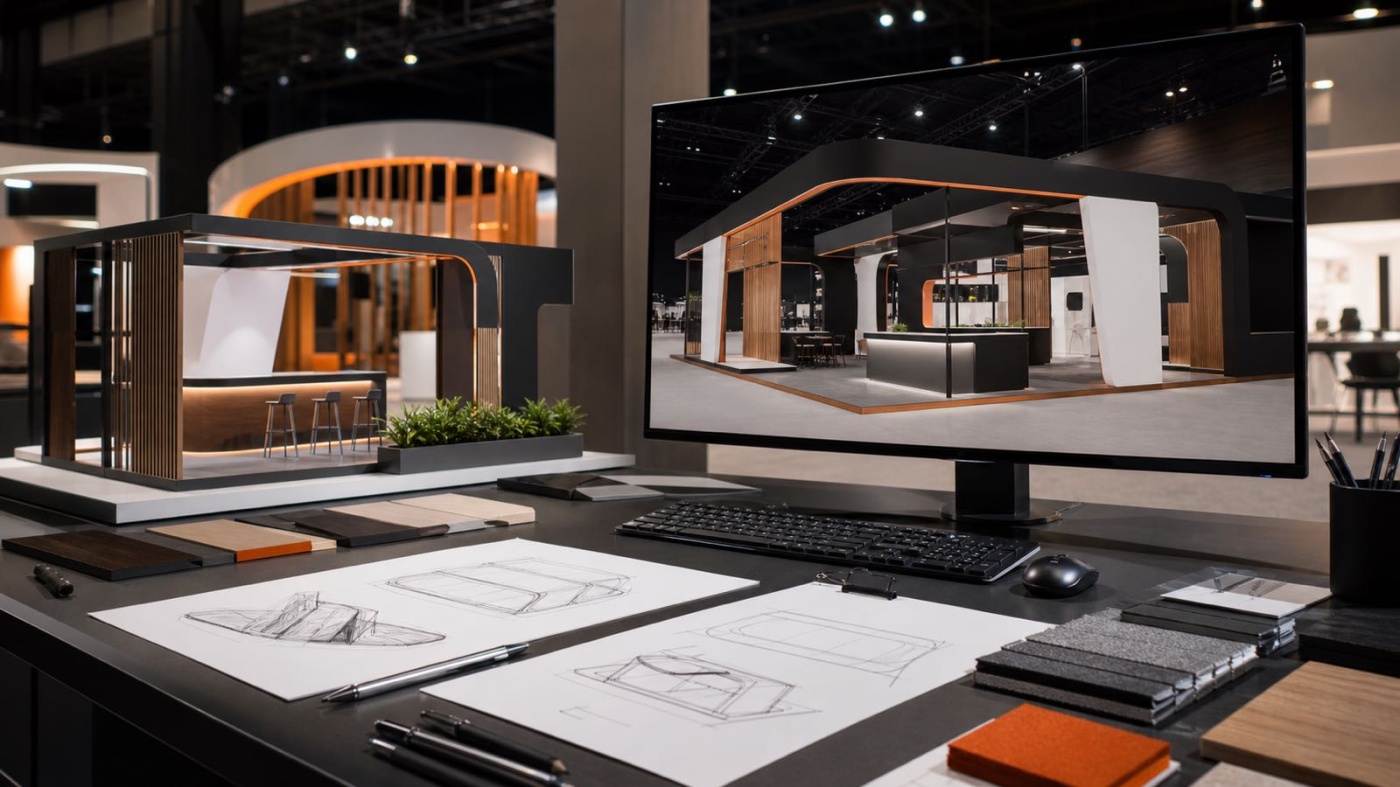
How does an exhibition stand actually come to life before it stands on the hall floor? Between the first idea and the finished, fully assembled stand lies a structured planning process, and at its end you have a realistic three-dimensional image of your stand. This image, the exhibition stand 3D visualisation, shows you the planned presence on screen long before the first component is produced. In this article we walk you through the path from the first definition of goals to the approval of the plan, step by step, so you know what happens in which phase and what you contribute yourself.
The Start: Briefing and Goal Definition
Everything begins with the briefing. A briefing is the shared clarification of what the stand is meant to achieve, and it forms the basis for every step that follows. This first conversation is less about looks than about goals. Do you mainly want to attract attention, welcome existing customers, demonstrate products or win new contacts? The answer determines how much open space, how many meeting places and how much presentation area your stand needs.
Goal definition also includes the question of the trade fair itself. A specialist fair with long consulting conversations makes different demands than a high-traffic consumer fair. The stand form matters just as much, that is whether you have a row stand with one open side, a corner stand, a head stand or a freely accessible island stand. These conditions determine which direction your visitors come from and where the eye-catchers need to sit. At the trendSETZEREI, a single dedicated contact accompanies you from this first conversation onwards and knows the project across all phases.
What You Provide as an Exhibitor
For the briefing to become a solid concept, the planning team needs a few basics from you. The more complete these details are at the start, the more targeted the first draft turns out and the fewer correction rounds are needed later. In practice, the following points are especially helpful:
- Logo and corporate design: your logo in good quality, plus your house colours and fonts, so the stand matches the brand.
- Exhibits and content: which products, models or media you want to show, including size and weight, because pedestals, display cases and screen areas depend on this.
- Stand dimensions and floor plan: the booked area with its measurements, position in the hall and location of the open sides, ideally the organiser's hall plan.
- Budget framework: an honest orientation of the range the project should move in, so the draft stays realistic from the outset.
- Goals and flow at the stand: how many conversations should run in parallel, whether a catering area is needed and how your team uses the stand.
If one of these details is missing, that is no obstacle. Much can be worked out together in conversation. What matters is that the assumptions are on the table early, because later changes to the area, the goals or the exhibits have the biggest influence on the planning.
From Concept to Stand Design
Based on the briefing and your documents, the concept takes shape. First the area is divided in principle into zones, for example an open reception area, a presentation surface for the exhibits, meeting places and, if needed, a lockable storage or kitchen room. This layout is often first captured as a simple stand sketch or floor plan, that is a scaled plan seen from above that shows the visitor routes and the arrangement of the areas.
Only afterwards does the design come into play. Here materials, colours, lighting and the placement of logo and messages are defined. The trendSETZEREI plans modularly on the basis of an aluminium system that can be combined with textile fabric covers and LED surfaces. This has a practical advantage, because many components can be reused for later fairs, and the design still stays individual. If you want to understand more deeply how an idea becomes a designed stand, you will find further insights on our page about exhibition stand design.
The 3D Visualisation as an Approval and Decision Aid
Once the design is in place in its main features, the stand is built up three-dimensionally on the computer. The renderings are created from this digital model. A rendering is a computer-calculated, photorealistic image that shows the stand with light, materials and textures the way it is meant to look later in the hall. This is exactly where the exhibition stand 3D visualisation becomes the most important tool in the entire process, because it translates abstract plans into a vivid image.
For you as an exhibitor, that is a genuine decision aid. You see from various angles how tall the back wall feels, whether the logo reads well from the visitor's perspective, how the lighting stages the exhibits and whether the meeting places have enough room. What is hard to picture on a flat plan becomes instantly tangible in the three-dimensional image. The visualisation also helps internally, because you can show the planned presence to colleagues or to management without assuming any technical background. How such a stand can look in the end at a specific fair is shown by our guides on individual events, for example on the exhibition stand for the Ambiente in Frankfurt or on the exhibition stand for the Eurobike.
Approval, Correction Rounds and Handover into Production
The visualisation is at the same time the basis for approval. In one or more coordination rounds you look at the renderings and give feedback. Perhaps the reception counter should move to a different spot, the colour of an element should be adjusted or an additional seat should be added. Such wishes flow into a revised version that you see again. These correction rounds are explicitly part of the process, because changes on screen are simple and inexpensive, whereas changes to the finished, built stand would be costly.
When all points are settled, you give the final approval. With that the design phase ends and the stand goes into production. From the approved 3D model the technical plans and parts lists are derived, according to which the components are manufactured. In parallel, the team takes care of the organisational duties, for example dimensioned stand plans for the organiser's stand construction approval. Which deadlines and construction heights apply here are set by the technical regulations of the respective fair, which can differ from event to event. Because at the trendSETZEREI concept, production and assembly come from one team, the approved draft passes on to the in-house workshop without friction losses. When you should begin which step so that this process stays relaxed is something we have summarised in the guide on the timeline for your trade fair appearance.
Conclusion
An exhibition stand does not come to life in a single step, but in a clear sequence: briefing and goals, your documents, concept and design, the 3D visualisation for approval and finally the handover into production. The visualisation takes away the uncertainty, because you can see and check your stand before it becomes real. If you are planning a trade fair appearance and would like to walk this path together, you can reach us by phone at +49 69 201 65 001 or by e-mail at info@dietrendsetzerei.de.